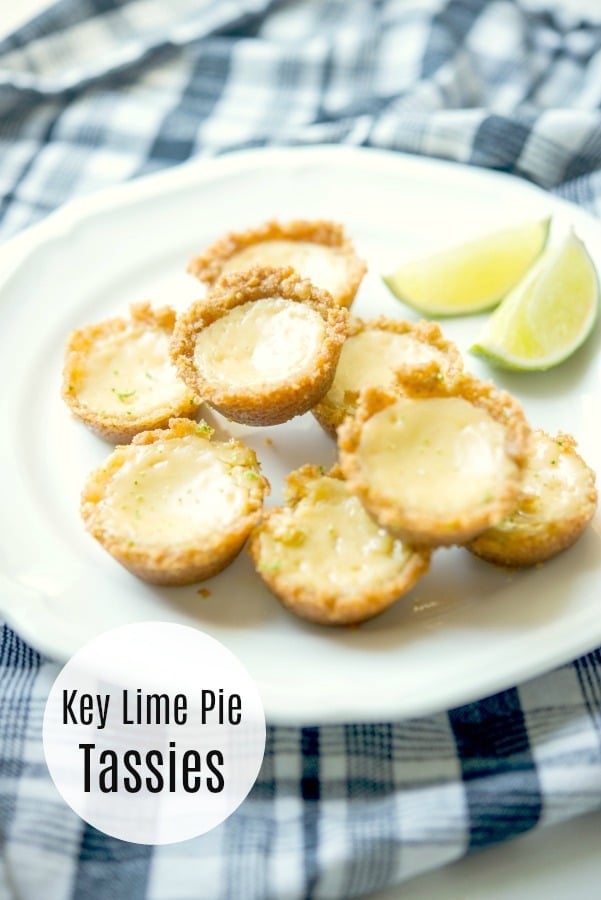
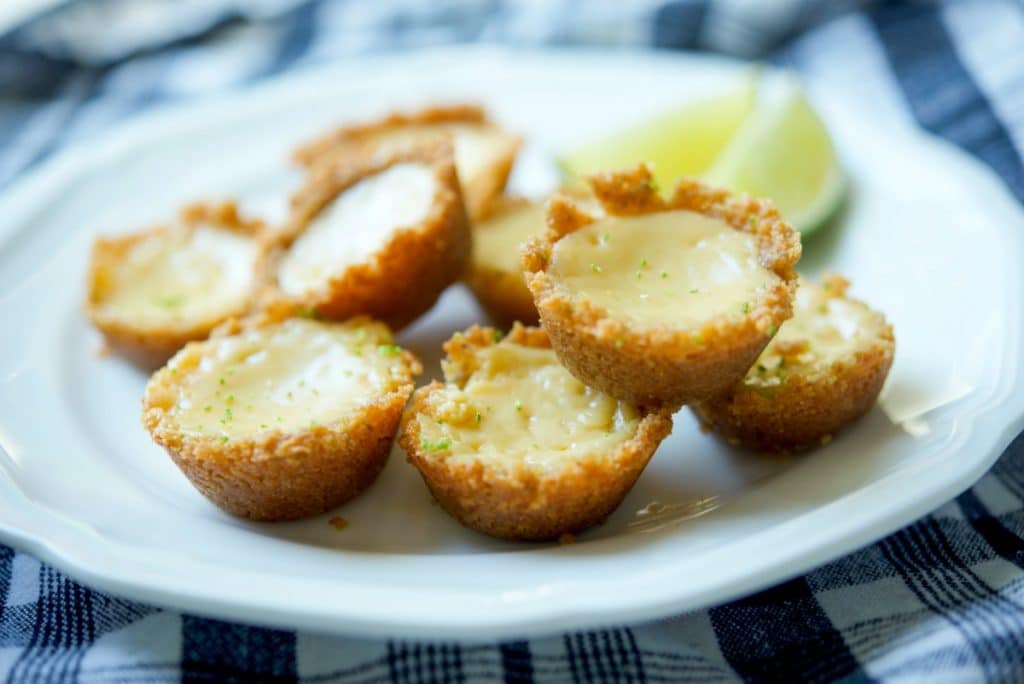
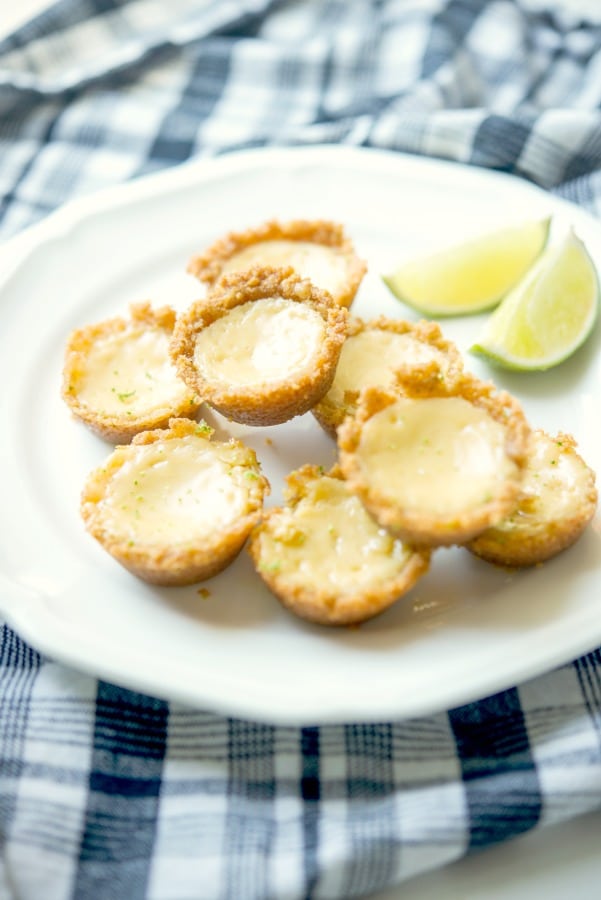
Enjoy one of your favorite desserts in individual portion sizes with these Key Lime Pie Tassies made with key limes in a graham cracker crust.
The difference between a key lime versus regular green limes is that key limes are a hybrid citrus fruit.
If you don't have a key lime, you can also substitute with equal parts of regular limes and lemons.
What is the difference between a key lime and a regular lime?
Some of the major differences between the two types of limes are as follows:
- They're smaller
- More acidic
- Contains more seeds
- Stronger aroma
- Lighter and thinner skin
One of my FAVORITE desserts is key lime pie. Though I'm not a huge dessert person, I will grab a slice whenever we're in Florida. Not everyone in my family cares for it though, which is why I made these Key Lime Pie Tassies.
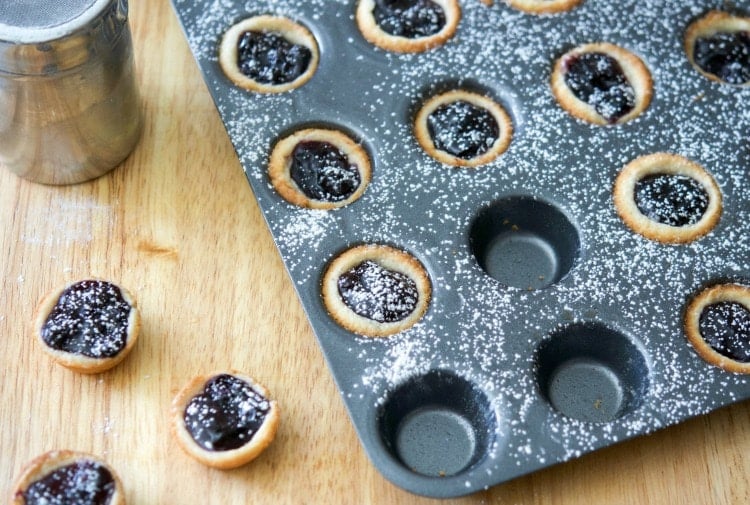
Like I explained when I made these Blueberry Pie Tassies; a tassie means 'a small cup'. Basically, they're small, individual cookies with a crust and filling.
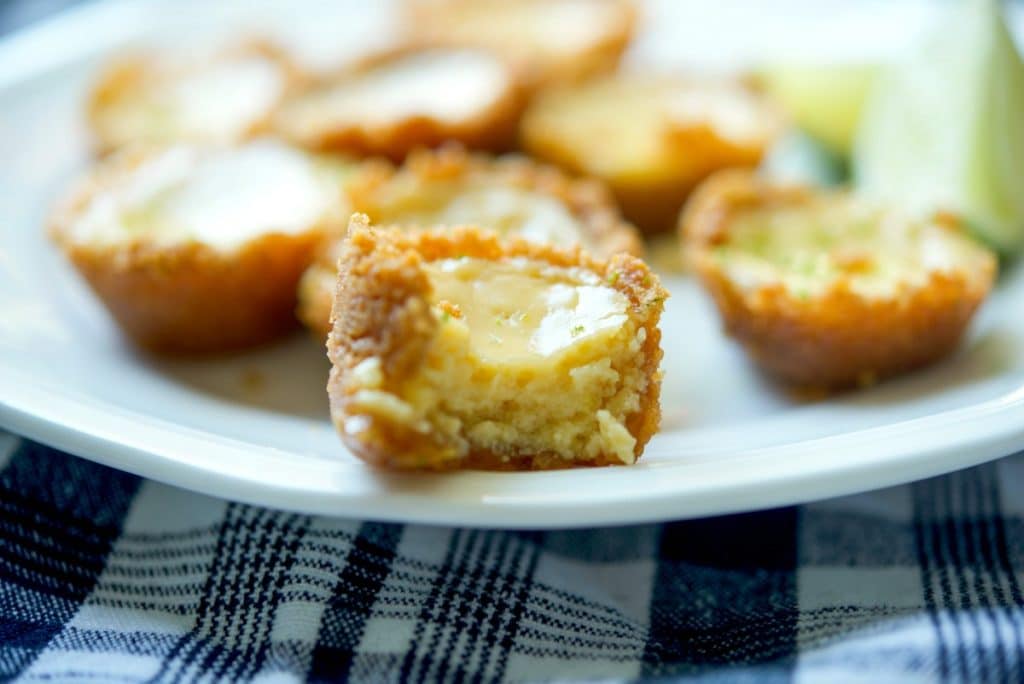
In this case, I used a graham cracker crust and filling made with key lime juice, sweetened condensed milk and egg yolks.
To make these cookies you'll also need a mini muffin pan and a mini tart shaper. It's not necessary, but certainly makes it easier than using your fingers!
How do I make these Easy Key Lime Pie Tassies?
Start by combining graham cracker crumbs, melted butter, sugar and the zest from one lime; then mix well until crumbly. If they don't stick together, add a bit more butter.
Spray your muffin tin with cooking spray or use a silicone muffin tin; then add approximately one tablespoon of the mixture in the muffin tin.
Form a "cup" with the tart shaper or fingers so that there are equal parts of the graham cracker mixture on the bottom and sides of the tin.
Place the pan in a preheated oven and bake for 20 minutes. While the shells are baking, prepare the filling.
Combine egg yolks, key lime juice and sweetened condensed milk in a bowl and stir until smooth. Since I needed quite of bit of key lime juice, I used Nellie & Joe's Key Lime Juice.
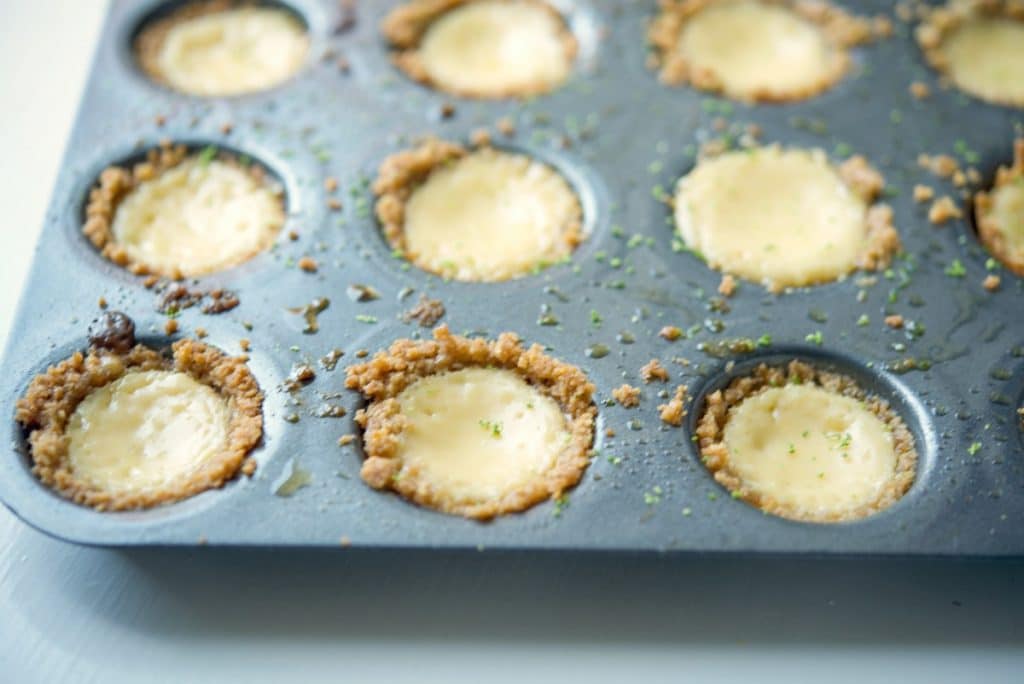
Pour the batter into each tassie shell and fill it ¾ of the way to the top; then place the pan back in the oven and bake for another 10 minutes. You may have a little extra filling leftover.
If you do have leftover filling, pour it into an oven safe ramekin and bake for about 10 minutes. This is what I did and my kids ate the filling without a crust.
I'm not sure if I prefer eating Key Lime Pie Tassies or the regular pie version better as they both taste the same. FABULOUS!
I'll warn you. Making this dessert as individual portions can certainly be dangerous to the hips! Yes, you CAN eat just one, but who would want to?
These Key Lime Pie Tassies were so easy to make too. Top them with whipped cream or a little fresh lime zest. They also make a great dessert when hosting a crowd too! ~Enjoy!
Sign up for my weekly newsletter and receive a FREE eBook!
Key Lime Pie Tassies
Ingredients
For the Crust
- 12 honey graham crackers
- 6 tbsp. butter (melted)
- 2 tbsp. granulated sugar
- 1 key lime
- cooking spray
For the Filling
- 2 large egg yolks
- 1- (14-ounce) can sweetened condensed milk
- ½ cup key lime juice
Instructions
For the Crust
- Preheat oven to 350 degrees F.
- Combine the graham cracker crumbs, melted butter, sugar and the zest from the lime in a bowl until it's crumbly. (If it doesn't stick together, add a bit more melted butter.)
- Spray the muffin tin with cooking spray and add approximately one tablespoon of the mixture in the muffin tin. Using your fingers or the mini tart shaper, form a "cup" so that there are equal parts of the graham cracker mixture on the bottom and sides of the tin.
- Place the pan in the oven and bake for 8-10 minutes; then remove for filling.
For the Filling
- While the shells are baking, prepare the filling by combining egg yolks, key lime juice and sweetened condensed milk.
- Pour the batter into each tassie shell and fill it ¾ of the way to the top; then place the pan back in the oven and bake for approximately 20 minutes. (You may have a little extra filling leftover). Tassies are done with the edges are lightly brown. Cool completely before storing in an airtight container in the refrigerator. Can be also be frozen for up to 3 months.
Notes
Nutrition
Visit the recipe index to search for more recipes by category.
Related Recipes
Here are more key lime recipes:
- No Bake Key Lime Pie from Plated Cravings
- Coconut Key Lime Meltaways from Saving Room for Dessert
- Key Lime Macarons from Goodie Godmother
Connect with me on Social Media
Facebook | Twitter | Pinterest | Instagram


Leave a Reply